
Creative Uses for Wood Chips & Tree Debris: Weed Suppression & Edging
Wood chips are an eco-friendly, cost-effective solution and an excellent choice for natural weed suppression, efficient firewood, and attractive garden edging. Learn how this sustainable material can transform your landscape, reduce waste, and simplify your gardening tasks
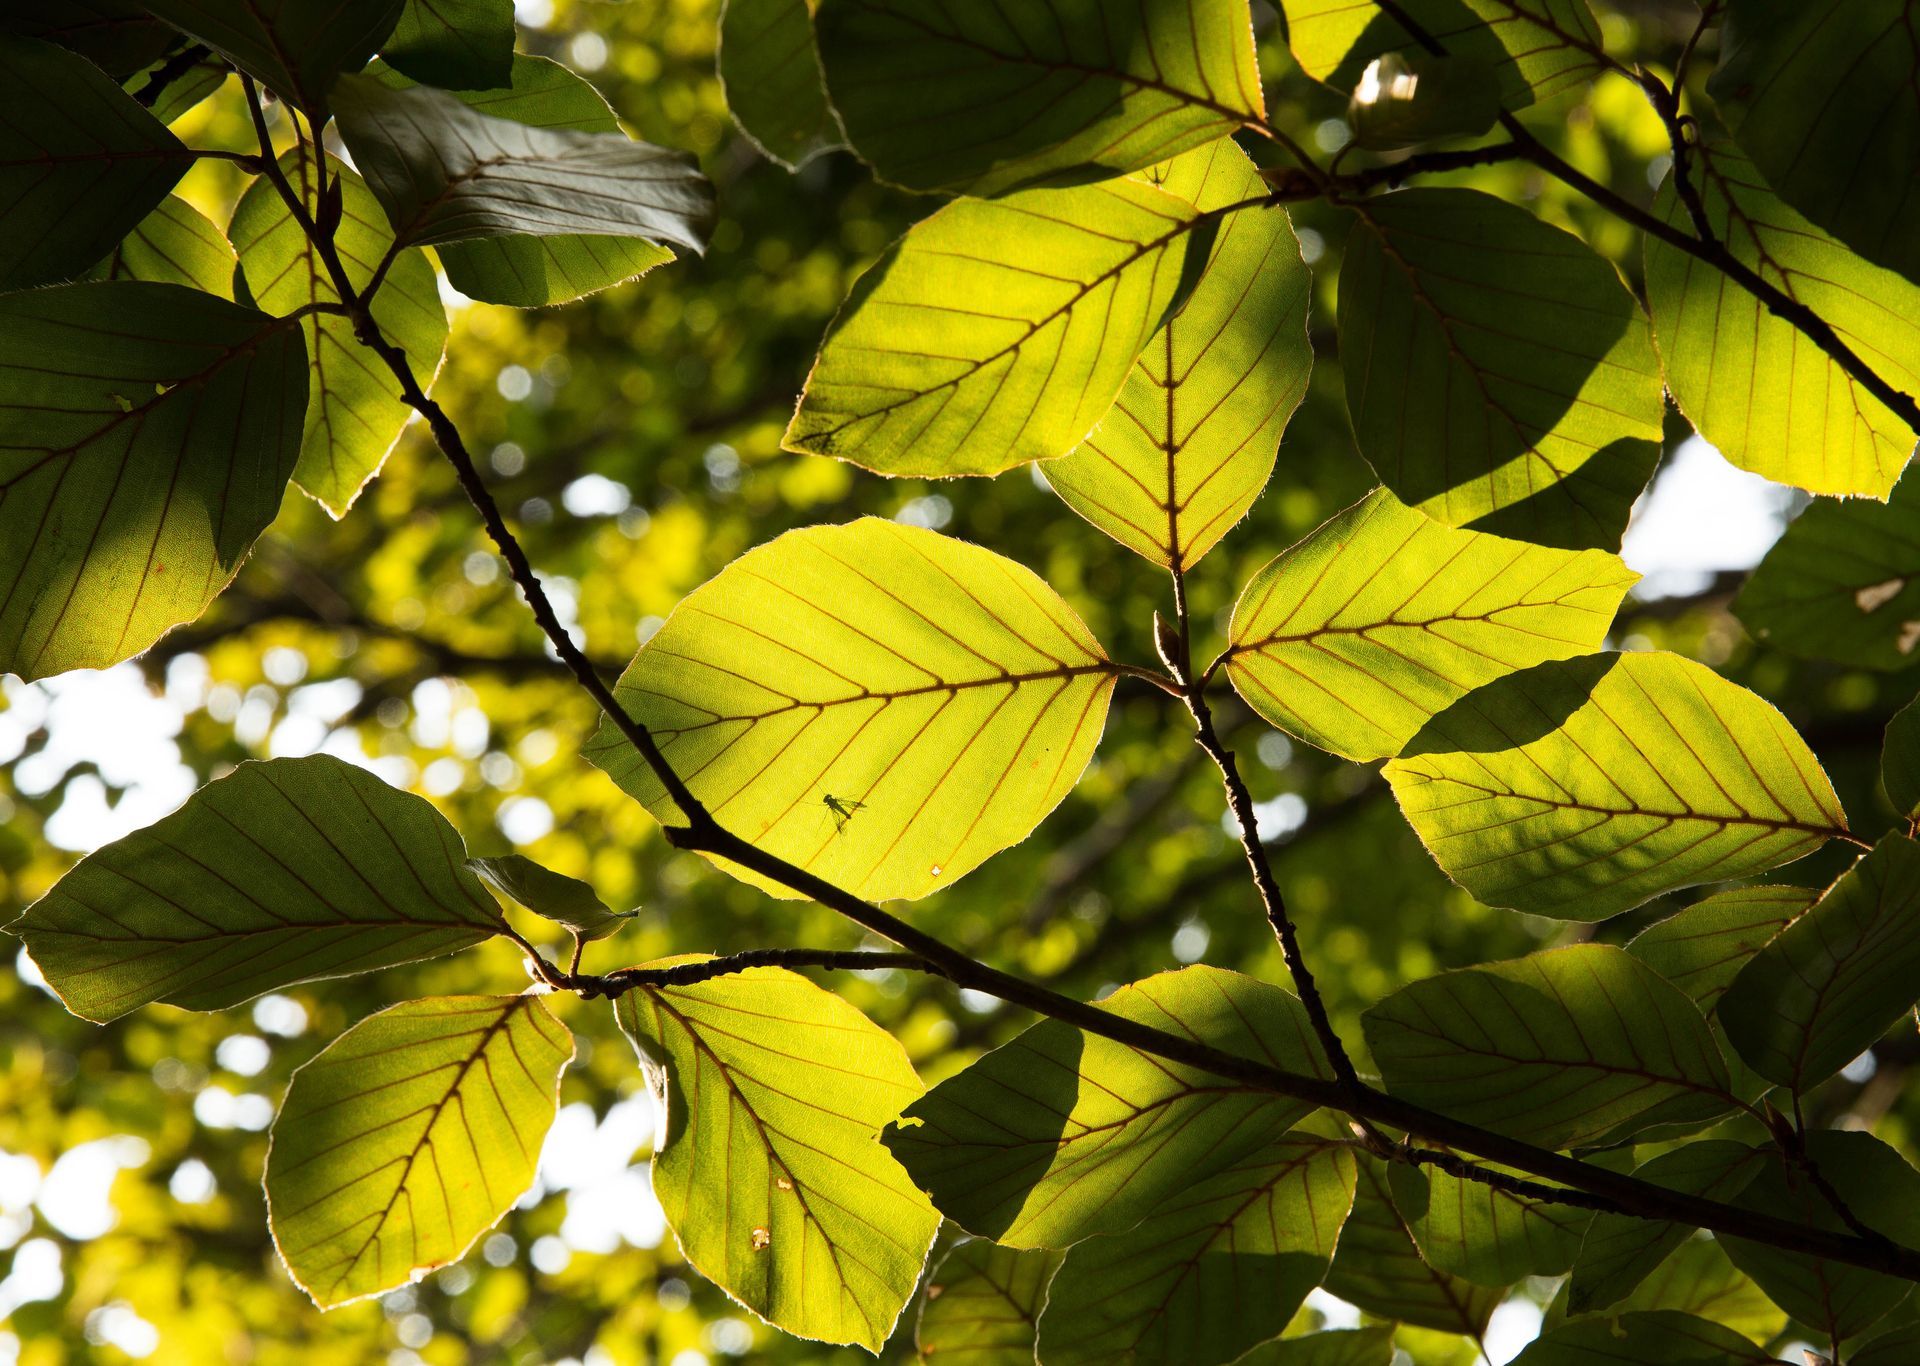
Using Wood Chips for Natural Weed Suppression
Wood chips for natural weed suppression is a popular and effective method in gardening and landscaping. Wood chips create a protective layer on the soil surface, helping to prevent weed growth by blocking sunlight and providing a physical barrier. You can even sign up for free wood chips right here on our website!
Benefits of Using Wood Chips for Natural Weed Suppression
- Blocks sunlight. Wood chips form a thick layer that blocks sunlight, which is essential for weed seed germination and growth. The dense layer of wood chips makes it physically difficult for weed seedlings to push through to the surface.
- Soil moisture retention. Wood chips help retain soil moisture by reducing the rate of evaporation, which is beneficial during dry periods. They maintain more consistent moisture levels in the soil, which is beneficial for plant health.
- Soil improvement. As wood chips decompose, they add organic matter to the soil, improving soil structure and fertility. Decomposing wood chips promote beneficial microbial activity, which enhances soil health.
- Temperature regulation. Wood chips act as an insulating layer, keeping the soil cooler in the summer and warmer in the winter. They buffer the soil against rapid temperature fluctuations, protecting plant roots.
- Aesthetic appeal. Wood chips provide a natural, clean appearance to garden beds and landscaped areas. They come in various types and colors, allowing for aesthetic customization.
- Environmental benefits. Using wood chips recycles waste from tree pruning, sawmills, and other wood-processing activities. Natural weed suppression reduces the need for chemical herbicides, benefiting the environment.
- Cost-effectiveness. Wood chips reduce the need for frequent weeding, saving time and labor. A thick layer of wood chips can provide weed suppression for several years before needing replenishment.
- Erosion control. Wood chips help stabilize the soil, reducing erosion, especially on slopes and in areas with heavy rainfall. They slow down water runoff, allowing more water to soak into the soil rather than washing away topsoil.
- Pest and disease control. Mulching with wood chips reduces soil splash onto plant leaves, which can lower the incidence of soil-borne diseases. Wood chips can provide a habitat for beneficial insects that prey on garden pests.
How To Use Wood Chips for Natural Weed Suppression
To start using your wood chips for weed suppression, you will need a few things:
- Weed-free soil. Start off on the right foot with a clean working area.
- Wood chips. Choose high-quality, untreated wood chips. Avoid using dyed or treated wood chips, as these may contain substances that could be harmful to plants.
- Gloves. Make sure you have a good pair of gardening gloves to protect your hands from thorns and other hazards.
- Landscaping fabric (optional). Double down on the weed suppression by using a non-plastic landscaping fabric or barrier.
- Edging material (optional). Create a clean border around your garden and prevent unwanted fallout by installing edging.
Now you are ready to get started.
- Prepare the area. Clear the area of existing weeds, debris, and any unwanted vegetation. This provides a clean slate for applying the wood chips.
- Combine with landscape fabric (optional). If you're dealing with persistent weeds, consider using permeable landscape fabric beneath the wood chips for additional weed suppression. This can create a more effective barrier against weed growth.
- Edge the border (optional). Consider installing edging materials along the edges of the wood chip-covered area to help contain the chips and create a clean, defined border.
- Spread a layer of chips. Evenly spread a layer of wood chips over the soil surface. The recommended thickness is typically around 2 to 4 inches, depending on the type of wood chips and your specific weed suppression needs.
- Avoid mulch volcanoes. Keep wood chips away from the stems or trunks of plants to prevent moisture-related issues and discourage pests. Leave a small gap around the base of each plant.
- Monitor for weeds. Regularly inspect the wood chip-covered area for any emerging weeds. Remove any weeds that manage to grow through the wood chip layer promptly.
- Reapply as needed.
Over time, wood chips will break down and decompose. Reapply additional wood chips as needed to maintain the desired thickness and continue suppressing weed growth. You will want to maintain the desired thickness of the wood chip layer to ensure effective weed suppression. Thicker layers provide better coverage and longevity.
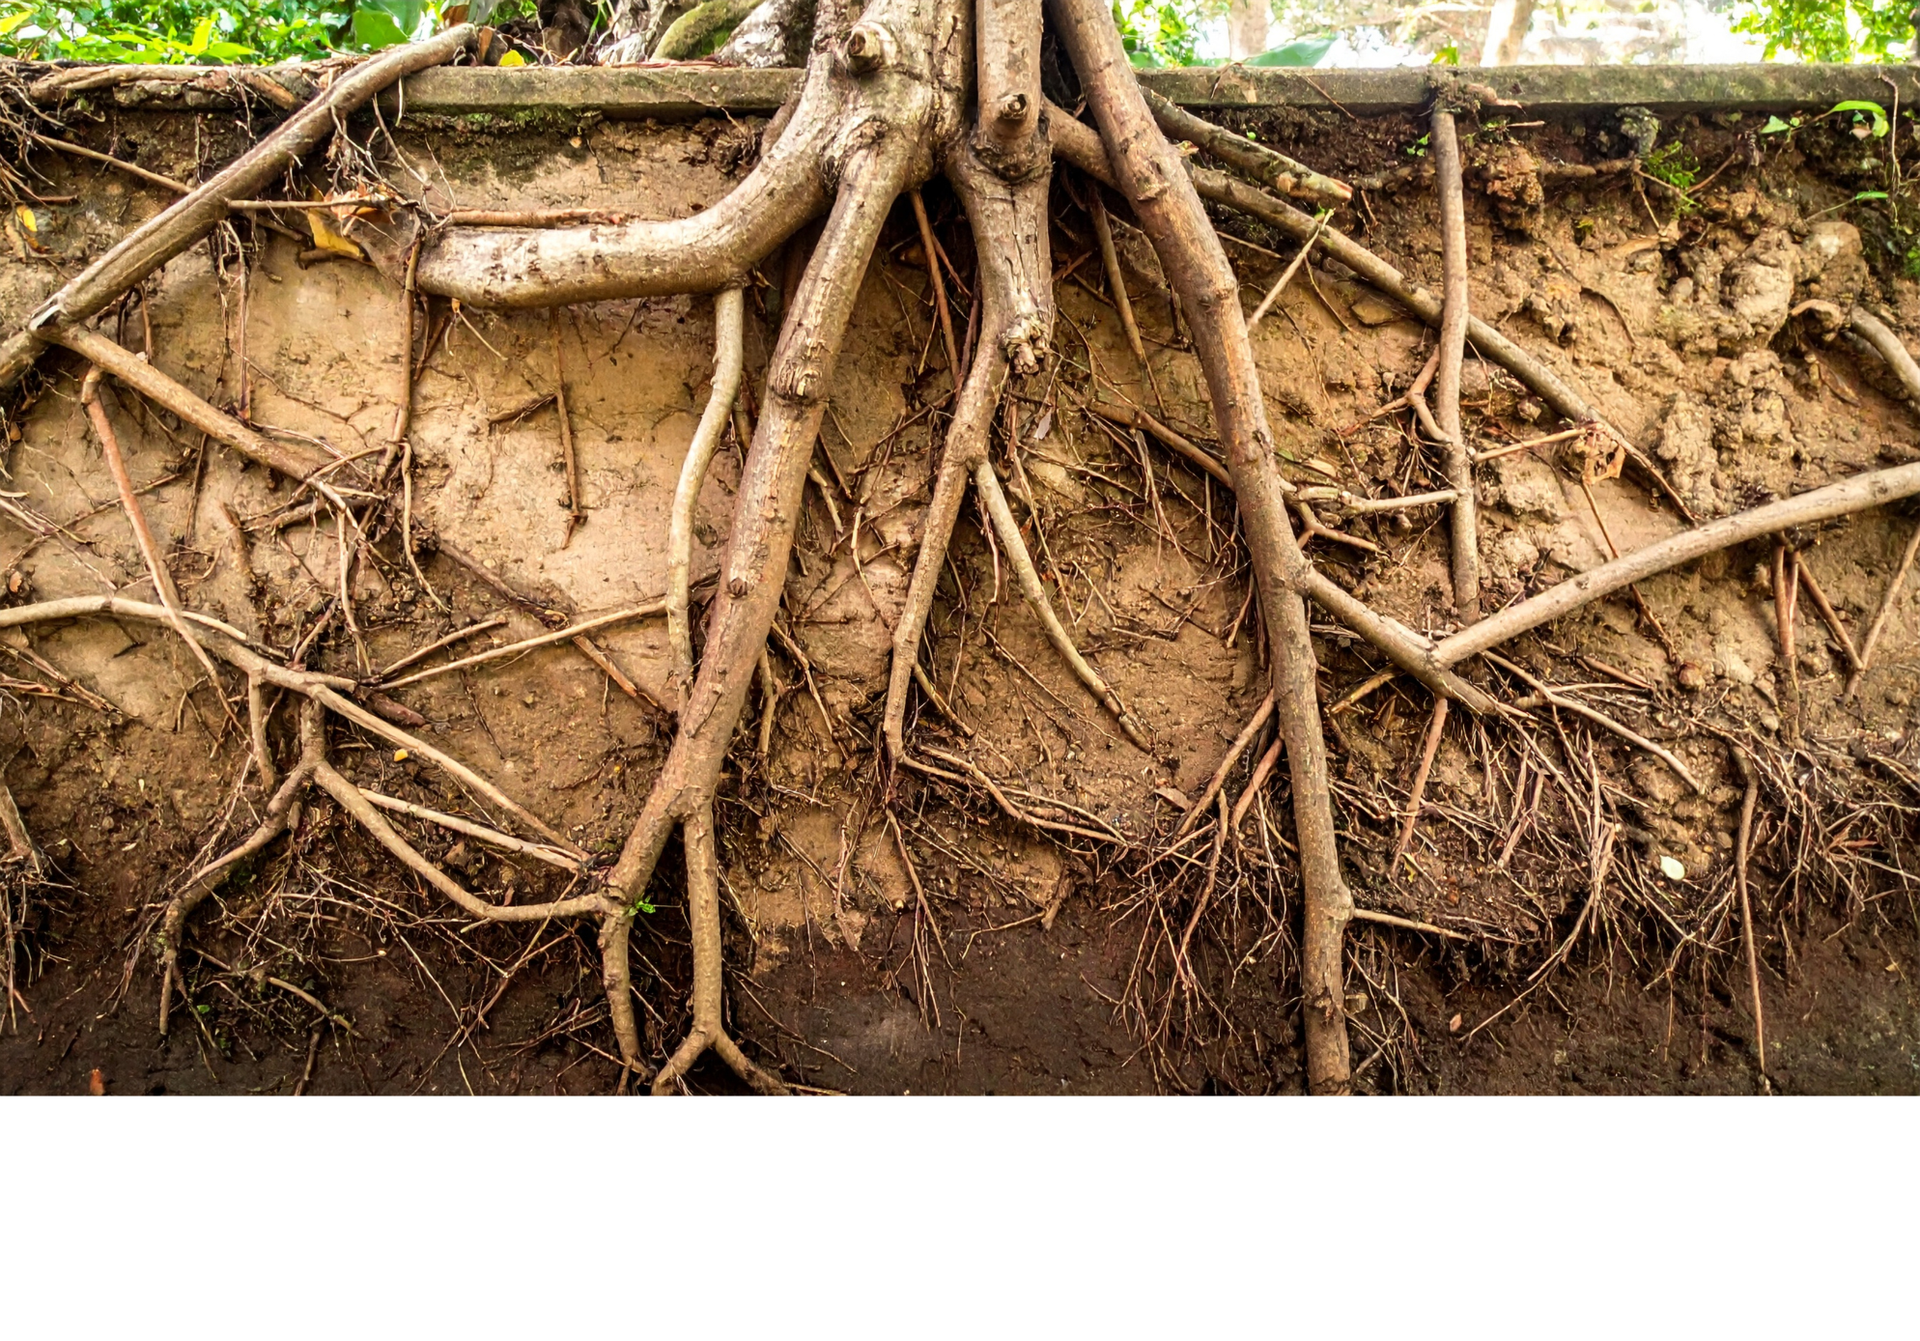
Using Tree Debris for Natural Edging
Using larger branches for natural edging is a creative and eco-friendly way to define garden beds, pathways, or other landscaped areas. This approach adds a rustic and organic touch to your garden while repurposing natural materials.
Benefits of Using Tree Debris for Natural Edging
- Natural appearance and visual interest. Tree debris such as branches, twigs, and logs provide a rustic, natural appearance that blends seamlessly with the garden environment. Varying sizes and shapes of tree debris can add texture and visual interest to garden borders.
- Recycles natural materials. Utilizing tree debris for edging recycles natural materials that might otherwise be discarded, reducing waste.
- Eco-friendly. This practice also minimizes the need for manufactured edging materials, lowering the carbon footprint associated with production and transportation. It makes use of materials that are often readily available from tree trimming, pruning, or natural shedding.
- Creates habitats for garden creatures. Piles of branches and logs can provide habitats for beneficial insects, small mammals, and birds, promoting biodiversity in your garden.
- Cost-effective. Using available tree debris eliminates the need to purchase commercial edging materials, making it a cost-effective solution.
- No special tools or skills needed. Arranging tree debris for edging is straightforward and does not require specialized skills or tools.
- Natural soil enrichment. As tree debris decomposes, it adds organic matter to the soil, improving soil structure and fertility while improving plant growth.
- Runoff and erosion management. It slows down water runoff, allowing more water to soak into the soil rather than washing away topsoil. Tree debris placed along garden edges can help stabilize the soil, preventing erosion, especially on slopes or in areas with heavy rainfall.
How to Use Tree Debris for Natural Edging
To begin using tree debris as natural edging, you will want to collect a few things first:
- Garden tools. Depending on the method you choose, you may need garden tools such as a shovel, hand saw, or pruning shears.
- Mulch and soil (optional). Consider using mulch or soil to fill in gaps or level the ground if needed.
Now you are ready to get started.
- Choose appropriate-sized, disease-free branches. Select branches, twigs, and logs that are suitable for the scale of your garden and the desired edging effect. Choose branches that are straight and have a consistent thickness. Ensure the debris is free from disease and pests to prevent spreading issues to your garden.
- Select the area you want to edge. Determine where you want to create the natural edging. This could be around garden beds, along pathways, or to define specific areas in your landscape.
- Prepare the ground. Clear the area of debris, weeds, or existing vegetation. Level the ground if necessary, using a shovel or garden rake and some mulch or soil.
- Measure and mark the edging line. Measure and mark the desired edge line using stakes and string. This helps guide you as you position the larger branches and is easier to move should you change your mind.
- Choose your preferred method. Some people place vertical "posts" in the ground and then weave thinner branches around them to help create a solid structure for their edging, kind of like a fence. Others have simply stacked smaller branches on top of larger ones to create visual separation. Select the method that is right for you and your needs.
- Position the larger branches first. Place the larger branches along the marked line to create the edging.
- Adjust the positioning. Arrange the branches to achieve a uniform and pleasing appearance. Make adjustments as needed to create a consistent height and spacing.
- Embed the branches in the ground. Use a shovel or garden tool to dig shallow trenches along the marked line. Lay the branches into the trenches, ensuring they are stable and secure.
- Fill in gaps with soil (optional). If there are gaps between the branches or uneven areas, fill them in with soil or mulch to create a smoother surface.
- Compact the soil. Press down on the soil around the base of the branches to compact it and provide additional stability.
- Mulch around the branches. Consider adding a layer of mulch around the newly created edging to enhance the visual appeal and provide additional weed suppression.
- Perform regular inspections. Periodically inspect the edging and make adjustments as needed. Replace any branches that may have deteriorated over time.
Using tree debris for natural edging offers a sustainable, cost-effective, and aesthetically pleasing solution for garden and landscape design. It enhances the visual appeal of your garden, supports environmental sustainability by recycling organic materials, and provides practical benefits such as moisture retention, soil enrichment, and erosion control. Implementing natural edging with tree debris is a straightforward process that promotes a healthier and more biodiverse garden ecosystem.
Remember to properly age and cure any materials used in applications like gardening to prevent nitrogen depletion from the soil as the wood decomposes. Additionally, always be mindful of the type of wood you're using and its suitability for different purposes.
References:
How to use wood chips for gardening? - Little Green Yard
https://garvillo.com/mulch-with-wood-chips/
Eco-Friendly Recycled Wood Chips Mulch Guide (greenlivinganswers.com)
https://insteading.com/blog/rustic-garden-edging/
https://www.countryliving.com/gardening/garden-ideas/g29816826/garden-edging-ideas/
Images - Canva
Check out the latest: