
Creative Uses for Wood Chips: Pathways, Trails, & Erosion Control
Wood chips offer a versatile solution for pathways and trails, seamlessly blending functionality with natural aesthetics. Whether winding through a garden or meandering along a forested trail, wood chips provide a rustic charm while effectively mitigating erosion. Their organic composition promotes soil retention and moisture absorption, making them an eco-friendly choice for sustainable landscaping projects. In this blog, we'll explore the benefits and creative applications of utilizing wood chips for pathways and erosion control.
Using Wood Chips for Pathways and Trails
Creating pathways or trails using wood chips is an excellent and eco-friendly landscaping solution. Wood chip pathways offer a natural and rustic look while offering many benefits to your soil and surrounding landscape.
Benefits of Using Wood Chips for Pathways and Trails
- Suppresses weeds. A thick layer of wood chips acts as a natural weed suppressant, blocking sunlight and preventing weed growth. This reduces the need for herbicides and manual weeding.
- No mowing. No grass means no extra time spent mowing. Mowing typically requires equipment such as lawn mowers, trimmers, and fuel, as well as ongoing maintenance and repairs. By reducing the frequency of mowing, homeowners can save on maintenance costs associated with lawn care equipment, resulting in long-term savings.
- Easy and inexpensive to put in. Wood chips are a sustainable and environmentally friendly option for landscaping. They are often sourced from renewable resources such as tree trimmings, yard waste, or sustainable forestry practices, reducing reliance on non-renewable materials.
- Raised areas are infamous for drying out quicker than soil around them. Wood chips act as a mulch, helping to retain soil moisture by reducing evaporation from the soil surface. This is particularly beneficial in raised beds, where soil can dry out more quickly due to increased exposure to air and sunlight. Conserving moisture in the soil promotes healthy plant growth and reduces the need for frequent watering.
- Won’t strip nitrogen from your garden soil. As wood chips break down over time, they gradually decompose and release organic matter into the soil. This enriches the soil with essential nutrients, improves soil structure, and enhances microbial activity, supporting healthier plant growth in the raised bed.
- Looks attractive. Wood chips add a decorative element to the raised bed area, enhancing its visual appeal and blending seamlessly with the surrounding landscape. They create a tidy and finished look, defining the edges of the raised bed and providing a clean transition between the bed and the surrounding garden or lawn.
How To Use Wood Chips for Pathways and Trails
To begin installing your wood chip pathway, you will need just a few things:
- Wood chips. Obtain untreated, unpainted wood chips from a reliable source, or if you live in southeastern Pennsylvania, you can sign up for free chips on our website.
- Edging material (optional). Depending on your preference and the layout of the pathway, consider using edging material such as stones, bricks, or metal to define the pathway's borders.
Now you are ready to get started.
- Plan and mark the pathway. Determine the location and layout of your pathway. Use stakes and string to mark the edges of the path. This will serve as a guide during installation.
- Excavate the pathway. Clear the pathway area by removing any existing vegetation, weeds, or debris. Excavate the soil to a depth of about 2 to 4 inches to make room for the wood chip layer.
- Install edging (optional). If you want a defined border for your pathway, install edging along the marked edges. This helps contain the wood chips and prevents them from migrating into adjacent areas.
- Lay landscape fabric (optional). To further suppress weed growth, you can lay a permeable landscape fabric over the excavated area. While this step is optional, it can help maintain a cleaner pathway.
- Spread a base layer of wood chips. Begin by spreading a base layer of wood chips evenly across the excavated pathway. Aim for a layer thickness of about 2 inches to provide a stable and comfortable walking surface.
- Compact and level the base layer. Use a rake or shovel to level the base layer of wood chips. Tamp it down gently to create a stable surface. This step is important for ensuring an even and well-compacted pathway.
- Add additional wood chips. Spread another layer of wood chips on top of the compacted base layer. The additional layer should be thick enough to achieve the desired pathway depth. A total thickness of 3 to 4 inches is generally suitable.
- Rake and level the surface. Once again, rake and level the surface of the wood chip pathway to create an even walking surface. Ensure that the wood chips are spread uniformly. If desired, tamp the top layer of chips to further stabilize the path.
- Maintain and refresh as needed. Periodically refresh the wood chip pathway by adding more chips as they break down over time. This helps maintain the pathway's appearance and functionality.
A wood chip pathway offers a natural and organic feel to your landscape while providing a comfortable, easy to maintain surface for walking. It's an eco-friendly alternative to traditional paving materials and can be a cost-effective solution for informal trails, garden pathways, or recreational areas in your yard.
Using Wood Chips for Erosion Control
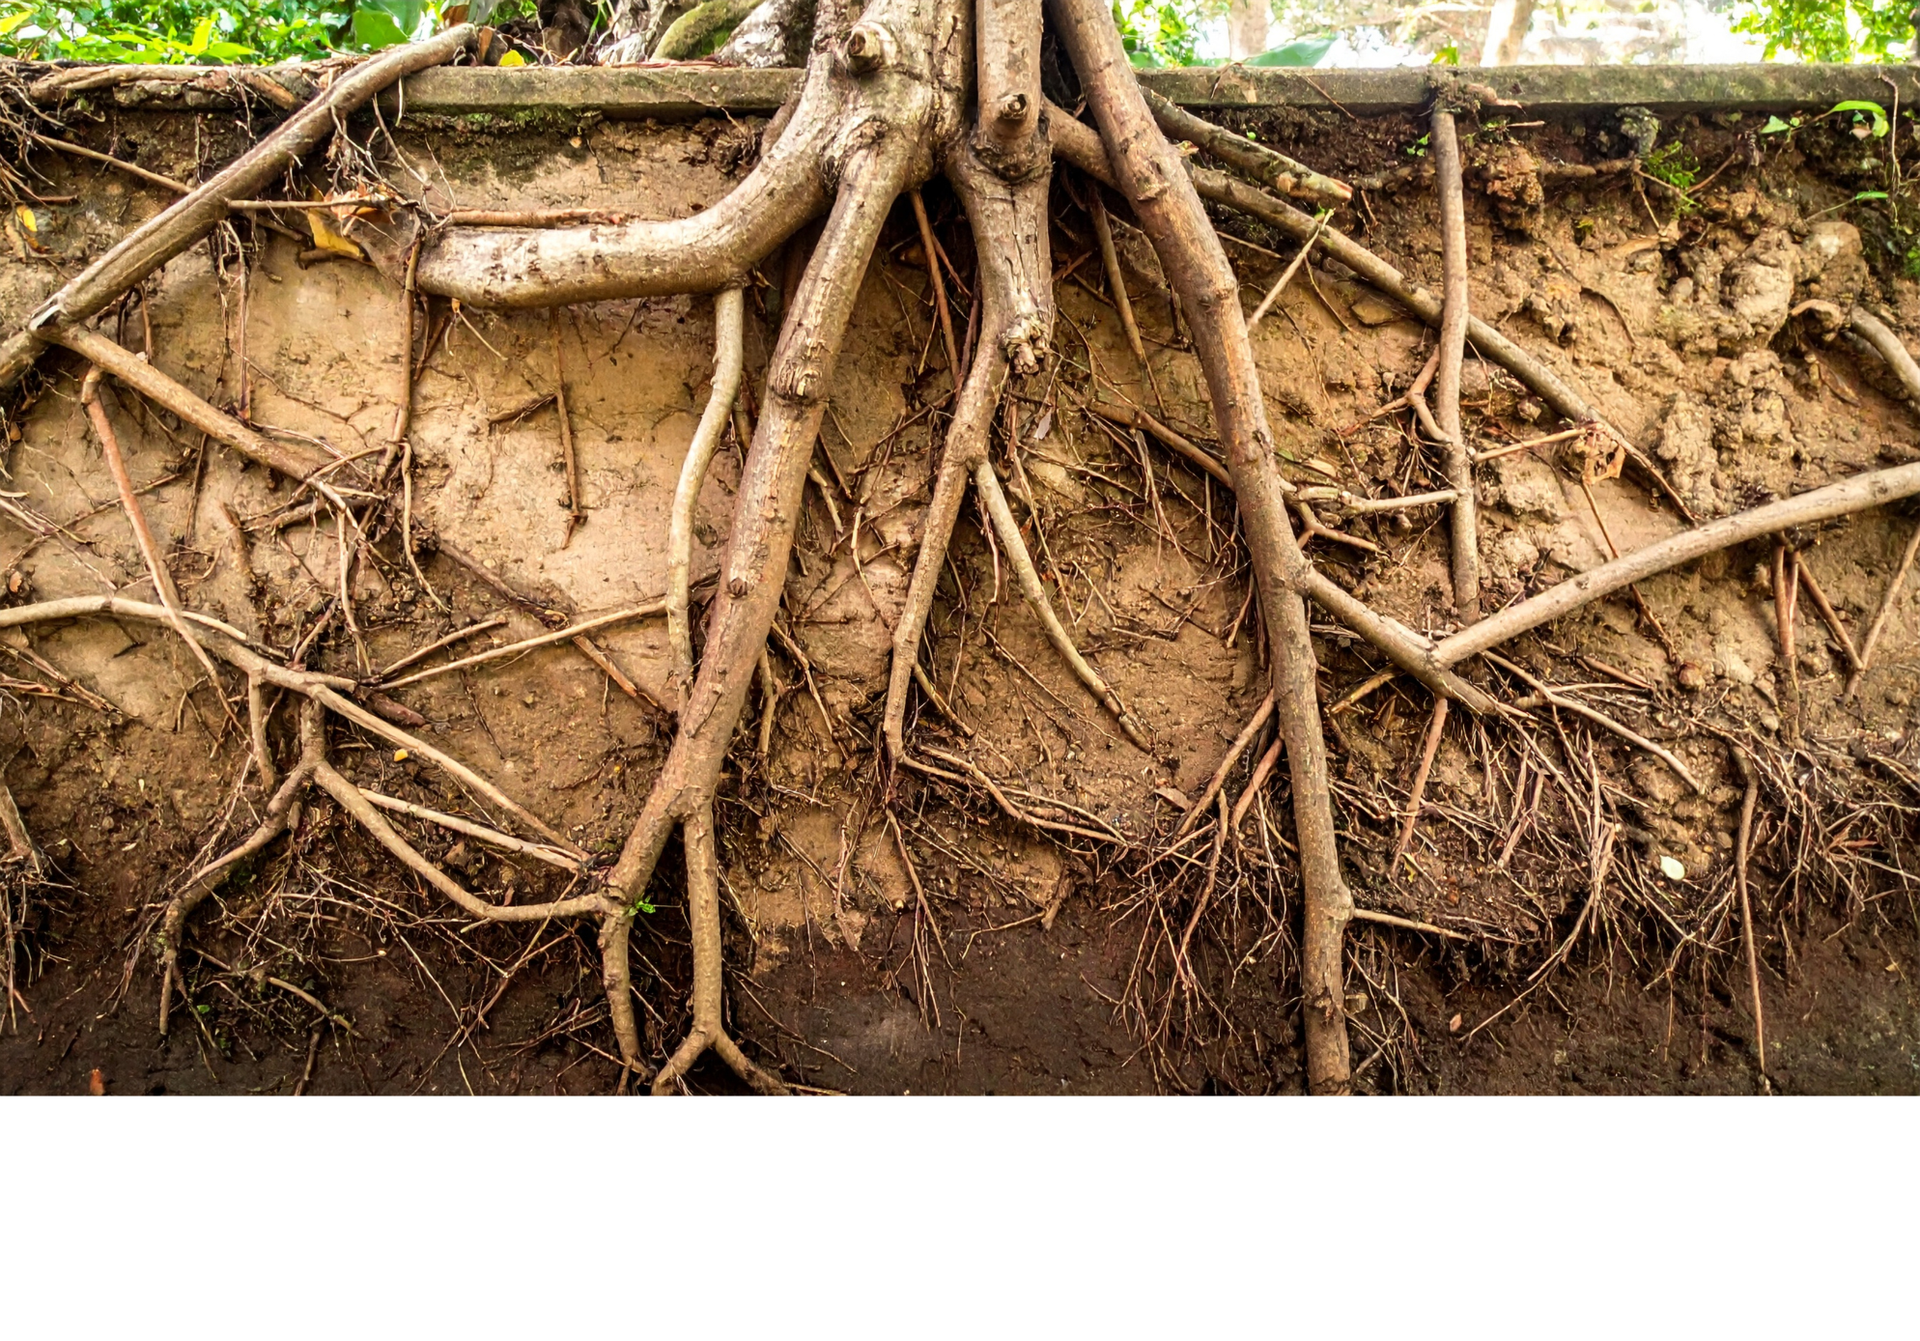
When considering erosion control methods, it's essential to evaluate both their eco-friendliness and ease of use. Traditional methods such as concrete barriers and metal sheets are effective but often come with significant environmental costs, including habitat disruption, higher installation costs, and material production emissions. In contrast, wood chips present a more sustainable alternative. Whether you're dealing with soil erosion on slopes, along stream banks, or in other vulnerable areas, wood chips can help stabilize the soil and prevent the loss of valuable topsoil.
Benefits of Using Wood Chips for Erosion Control
- Doesn't stand out from the landscape. Wood chips blend well with natural surroundings, providing an aesthetically pleasing erosion control solution that doesn't detract from the landscape while also a decorative element.
- Natural filtration. Chips act as a natural filter, allowing water to slowly percolate through them while trapping sediment and pollutants, preventing soil from being washed away.
- Improves soil structure over time. Decompose over time, adding organic matter to the soil. This improves soil structure, increases fertility, and enhances water retention capacity, which further aids in erosion control.
- Contributes to biodiversity. As wood chips break down, they create a habitat for beneficial microorganisms, insects, and small animals. This contributes to biodiversity and ecosystem health.
- Don't impose harmful materials on the environment. Unlike synthetic erosion control materials, wood chips are biodegradable and environmentally friendly. They do not pose long-term risks to soil and water quality.
How To Use Wood Chips for Erosion Control
1. Identify problem areas and develop a plan. Assess your landscape to identify areas prone to erosion. This may include slopes, stream banks, or areas with exposed soil. For sloped areas, consider creating terraces or steps to slow water flow, minimizing the potential for soil erosion.
2. Prepare the soil. Before applying wood chips, prepare the soil by removing weeds, debris, and any other obstacles. Loosen compacted soil to improve water absorption.
3. Install additional erosion control measures (optional). If erosion is severe, consider installing additional erosion control measures such as geotextiles, silt fences, or other appropriate materials. You can also incorporate native vegetation for a more comprehensive erosion control strategy.
4. Choose the right wood chips. Select wood chips from untreated, natural wood sources. Avoid using dyed or treated wood chips, as they may contain substances that could be harmful to the environment.
5. Apply wood chips. Spread a layer of wood chips over the exposed soil. The wood chips act as a protective barrier, reducing the impact of rainfall and preventing soil particles from being washed away.
6. Mulch the area (optional). To enhance erosion control and give your landscaping a more refined appearance, consider using a combination of wood chips and other organic mulch materials.
7. Create buffer zones. A buffer zone, also known as a buffer area or buffer strip, is a defined area of land or vegetation that serves as a protective barrier between two distinct areas or environments. Establish buffer zones with wood chips along stream banks, shorelines, or other water bodies. This helps filter runoff, reducing sedimentation and protecting water quality.
8. Regular maintenance. Inspect and maintain the wood chips and other erosion control measures regularly. Add additional wood chips as needed to replenish the layer and ensure ongoing erosion protection.
Wood chips offer a low-environmental-impact solution to erosion control. They are relatively easy to handle and apply, requiring little specialized equipment or expertise. This combination of eco-friendliness and ease of use positions wood chips as a compelling choice for erosion control initiatives, particularly in environmentally sensitive areas where minimizing ecological impact is paramount.
Check out the latest: